This close-up panoramic view was taken using a DIY panoramic head:

Over 10 years ago I made (bodged?) my own panorama head to enable me to take close-up panoramas that I call Nearscapes. These are of two types: wide angle views and 360º full circle panoramas (these I tend to show using ‘virtual tour’ software as shown on this page). The panorama head is used to minimise parallax. Parallax is the effect when the background moves in relation to the foreground as the camera pivots around to record the scene – this can cause problems stitching the individual images together.
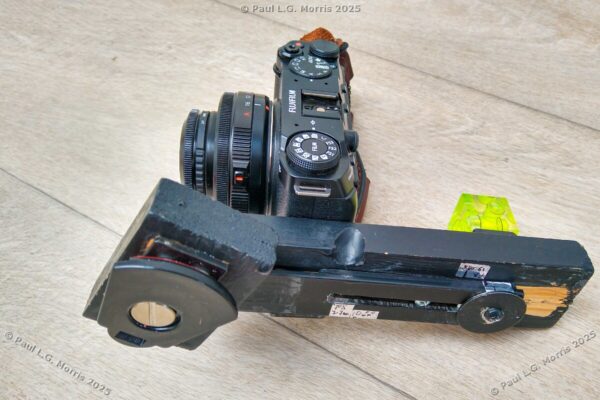
As I wanted close-up views, a full-size camera would have been too large so I made this to use with a compact camera – at the time a Canon Powershot S100 (a lovely camera apart from a weakness of the lens barrel jambing – which killed it in the end). I then modified it for the replacement camera: a Lumix LX15. This worked well until it suffered a few unfortunate incidents that degraded the quality. As there were no modern compact cameras that I liked I bought the then newly released Fuji X-M5 – their smallest (and cheapest!) X-series camera – which is compatible with my other Fuji lenses and equipment. Now it was time to modify the pano head again.
But which lens do I choose? Fortunately I made it adjustable to allow parallax correction when setting it up. This has enabled me to use it with 3 of the smaller lenses: A Fuji XF 27mm, a Pergear 10mm fish-eye (a cheap lens) and the camera’s XC 15-45mm kit lens.
For adjusting the camera/lens combination I use 2 pencils about 10 inches apart taped to a piece of wood. Below I show some of the set up photos and some views of the pano head itself:
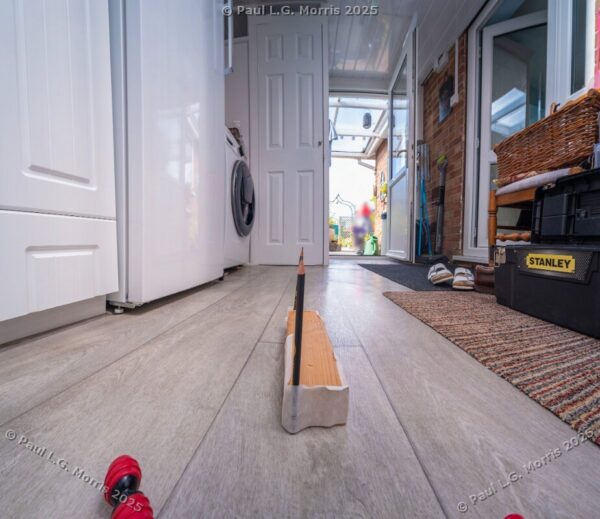
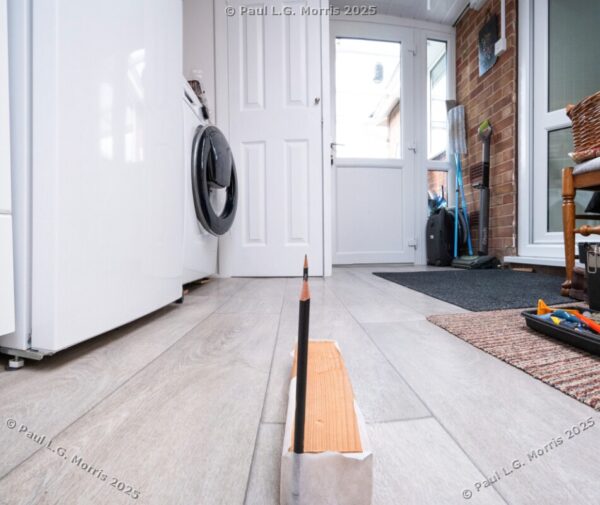
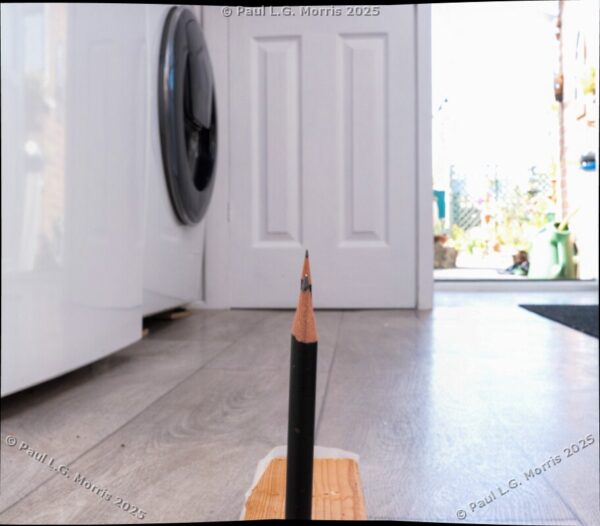
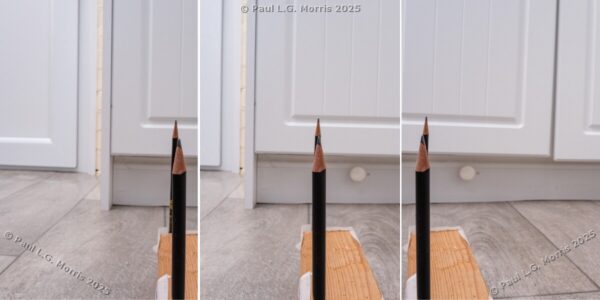
The way I do the alignment is to take 3 images with the pencils lining up in the centre of the image then swing the camera from one side to the other checking that they still line up. If not, I move the camera back and forth over the pivot point. This shows what the out of alignment looks like for the 27mm lens:
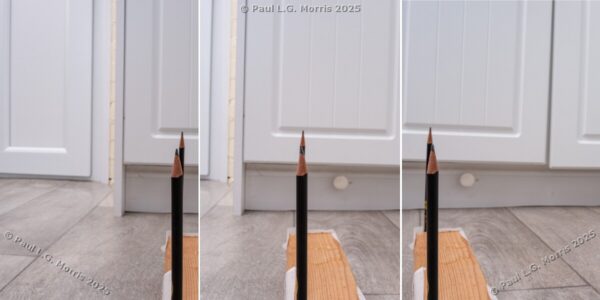
This is an iterative process making adjustments and checking as we go. These next 2 photos show alignment in progress:
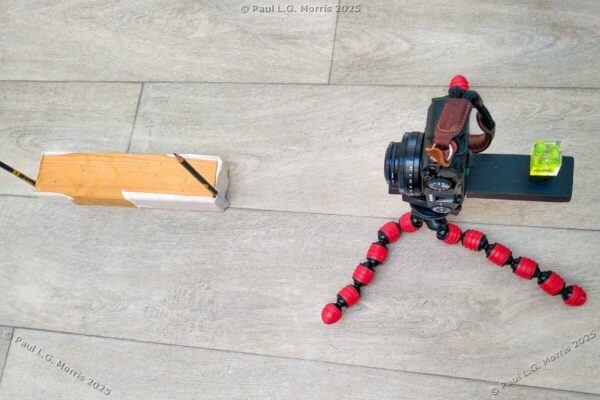
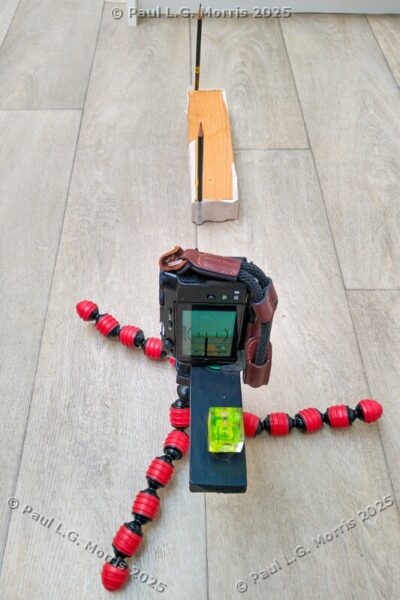
Below I show some images of the pano head with and without the camera
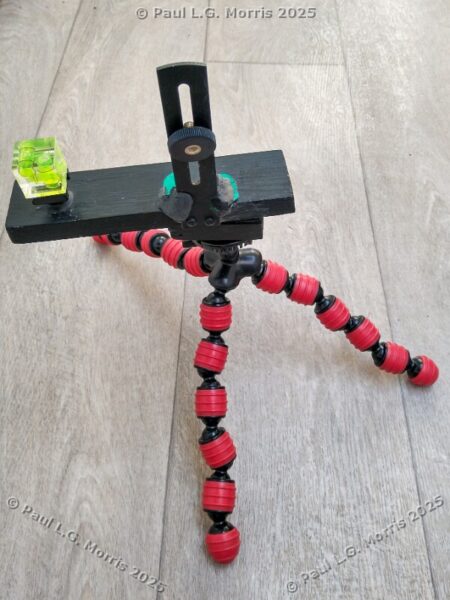
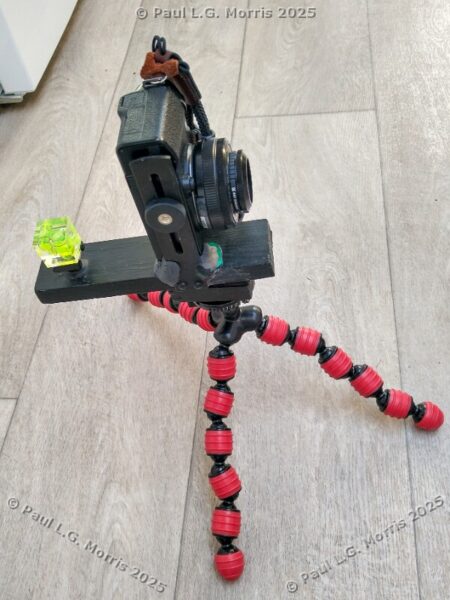
Yes, it all looks a bit Heath Robinson but does it work? Some examples are in the next post…