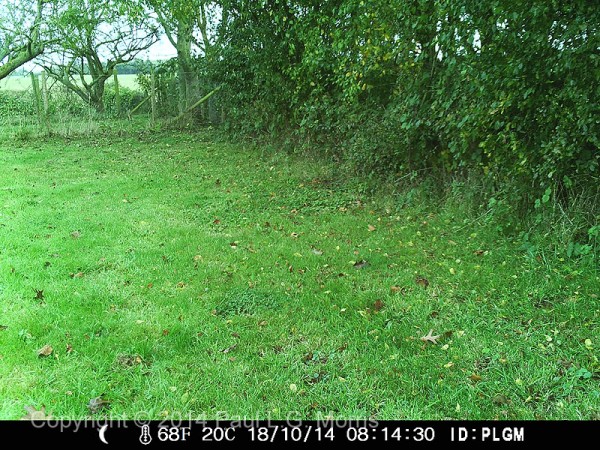
The wildlife camera that I use is fine as far as it goes but it does have its limitations (although it is good value for the money spent on it). One aspect I wanted to improve is the range the IR (Infra Red) night-time illumination. To do this I purchased a couple of cheap IR ‘floodlights’ from an ebay store and sealed lead-acid batteries to power them. Then I did some testing to see what improvements they made.
This test shows a garden feature I wanted to illuminate better. In this image, there is a diffused lamp on the left and a lamp on the right (not diffused). This shows quite harsh light emanating from the lamp:
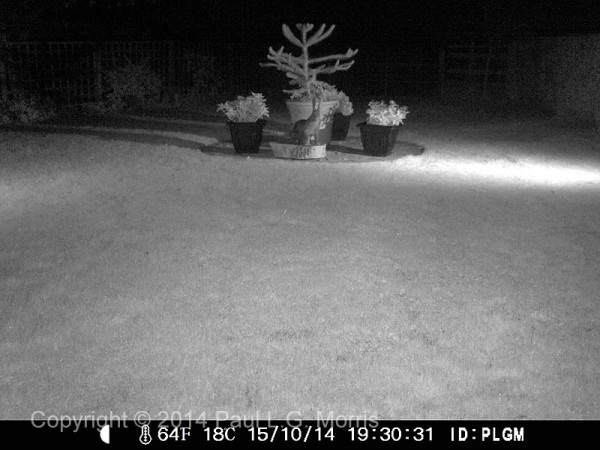 But, by adding a diffuser, the light is a lot softer and spreads out a little more:
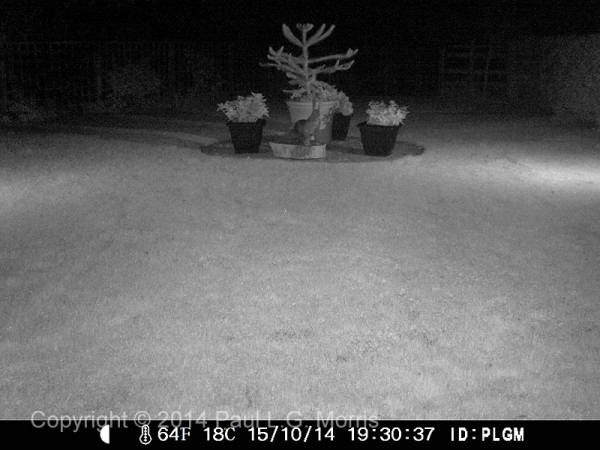 This has provides better illumination of the subject – In this case a garden feature that earlier in the summer was a waypoint for the rats. None were seen this night!
My next test was a bonfire in the making – I wanted to see if anything was using it:
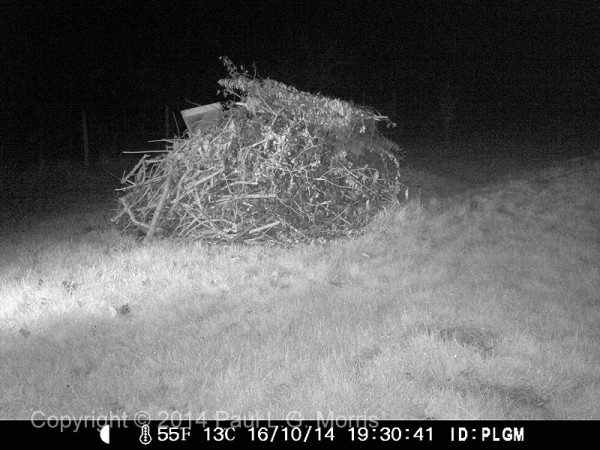 This shows the lighting from a ‘raw’ lamp on the left – harsh light. Adding a diffuser gives:
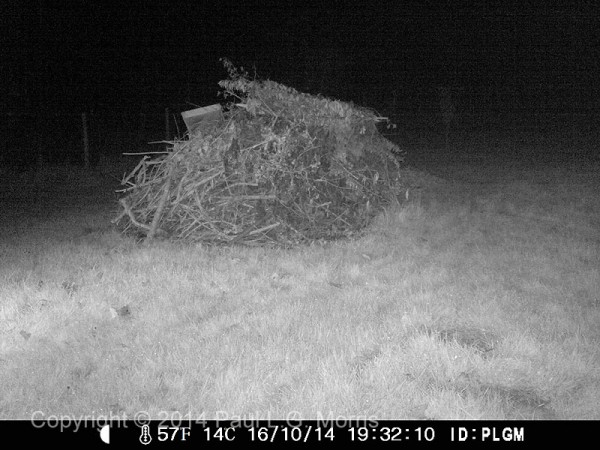 A lot softer. Now to add a lamp on the right:
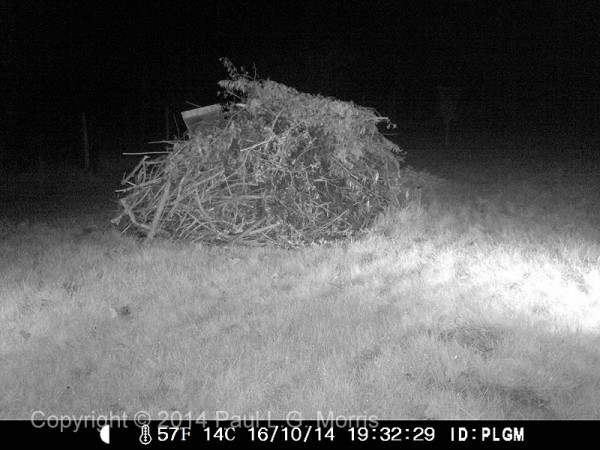 Undiffused it is harsh, but adding the diffuser I get:
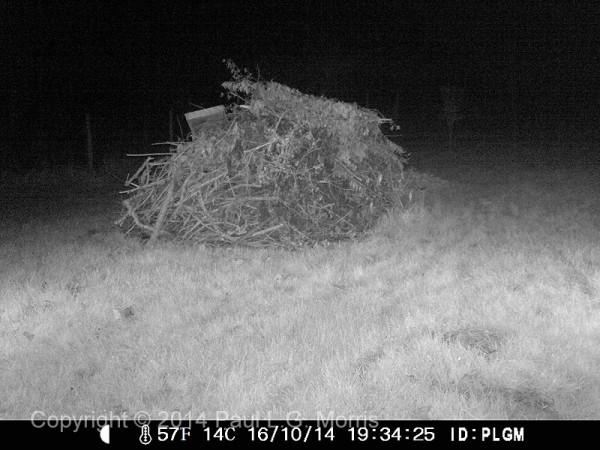 Nicely illuminating the subject without going overboard. Again, nothing was seen this night.
This is what the setup looks like in daylight:
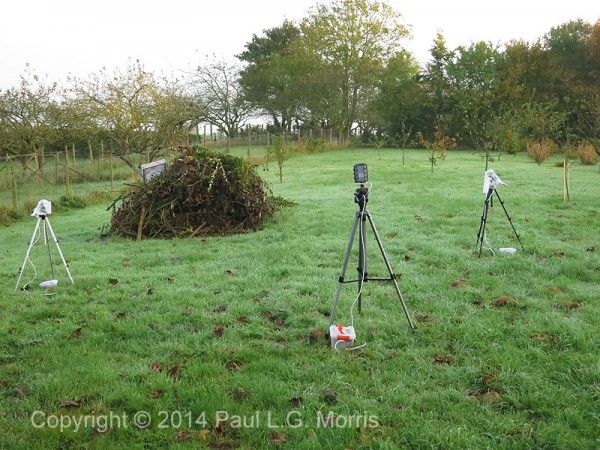 To give an idea of scale, the camera is about 22ft from the bonfire, the lamp on the left about 13 ft, an the lamp on the right about 15ft from the bonfire. The lamps are mounted on cheap ‘car boot sale’ tripods. They are covered with plastic bags to keep the weather out as a temporary measure.
This next set has both lamps to one side to illuminate a greater distance. This first image shows the lighting provided just by the camera:
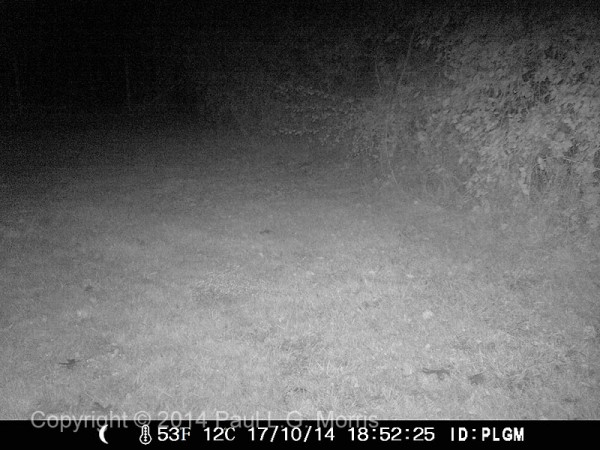 Not a great range. Adding 1 lamp without diffusion gives:
 Again very harsh lighting. But with both lamps at different distances with diffusion gives:
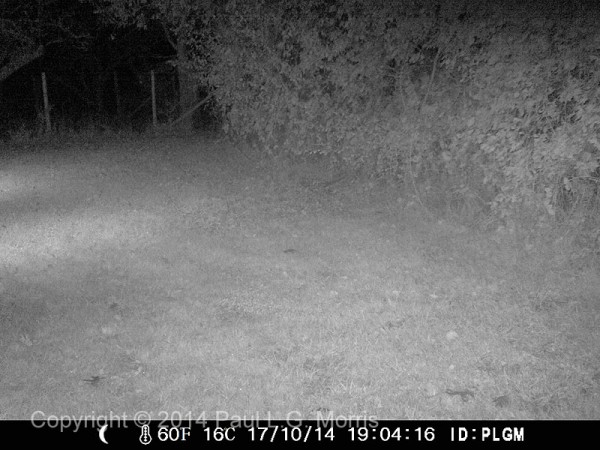 A large improvement to both the range and contrast of the image. This is the scene in daylight:
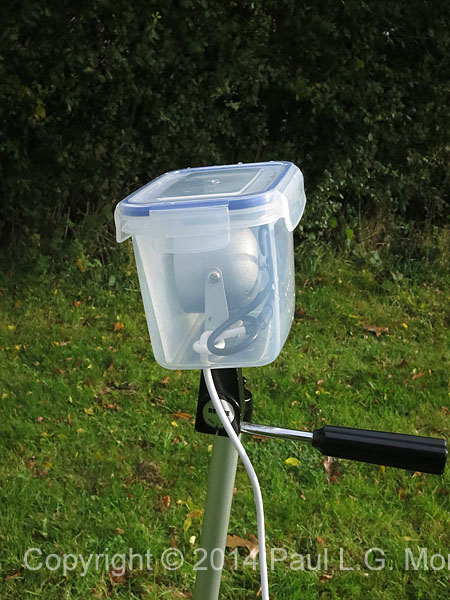
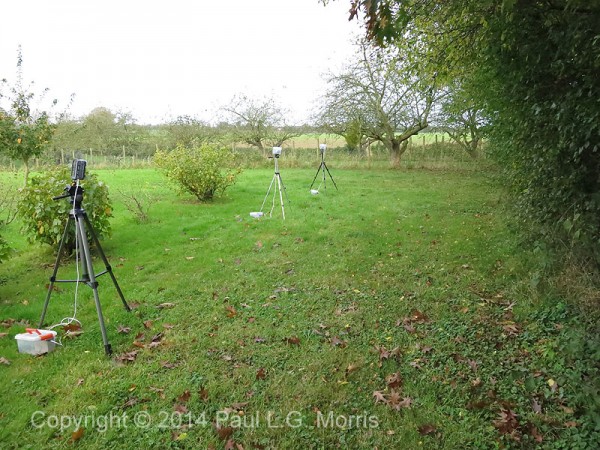 The approximate distances from the camera are: to 1st lamp 16ft, to second lamp a further 12ft, to the fence a further 26ft. You can see that each device is powered by a battery (A sealed lead-acid) in a container on the ground. Each lamp is housed in a plastic box (a food container):
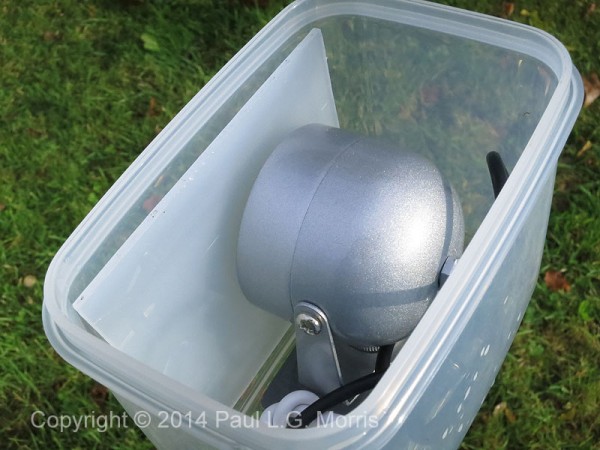 In this view you can see the sheet of translucent plastic that I use as a diffuser. This is what the package looks like on a tripod:
 I am quite satisfied for now with the results – not perfect lighting but a reasonably cheap and effective enhancement to the camera’s own lighting.

