Earlier this year I joined the Royal Photographic Society and as part of my membership I joined the Digital Imaging Group which runs smaller ‘eCircles’ where small numbers of people get together to show their work and discuss techniques etc. I joined one of these groups for processing images in Photoshop. Each month a member submits an image to the group for everyone to process ready for the following month where the techniques used are discussed – essentially we learn from each other.
This month one one of my images was used – this is a view of Essex Bridge, a medieval stone bridge over the River Trent adjacent to the National Trust property of Shugborough. Below I show the processing I used to get the final image. But first I show the original and final image within a comparison slider:
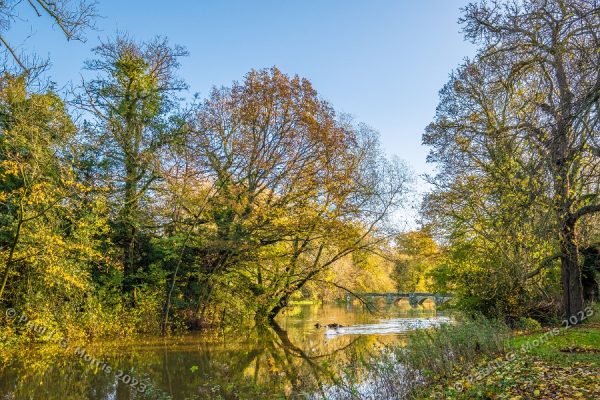
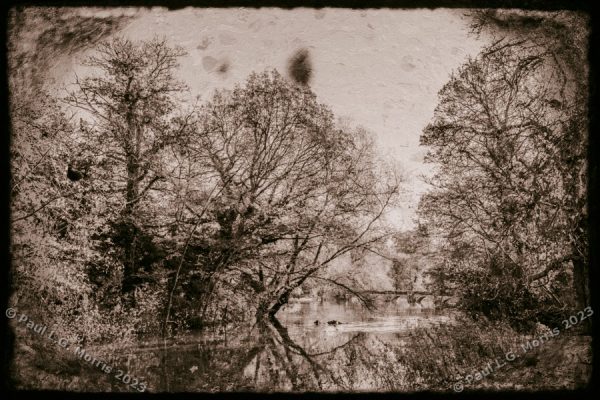
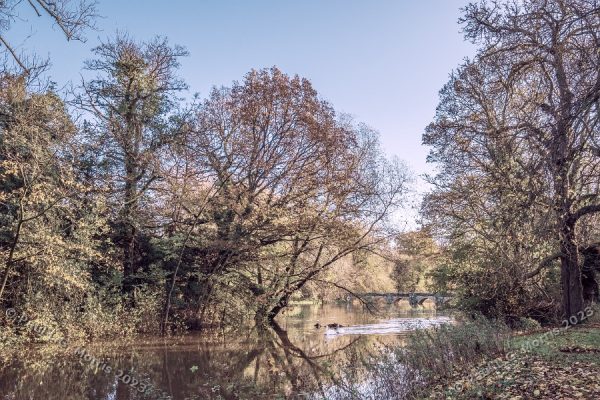
As you can see, the image has been deliberately downgraded to create the effect. So how did I get there? First I tried a vintage colour effect using the Camera Raw facility:
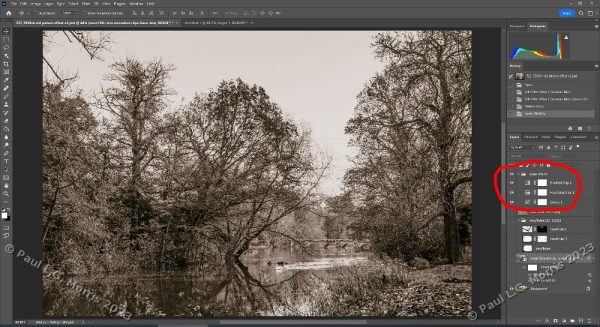
This wasn’t sufficient for me so I tried sepia toning. For this I have built my own routine which uses 3 layers: a Gradient Map, Hue Saturation, and a Curves adjustment. This image shows the layers in Photoshop (placed together in a group) that I used to produce the effect:
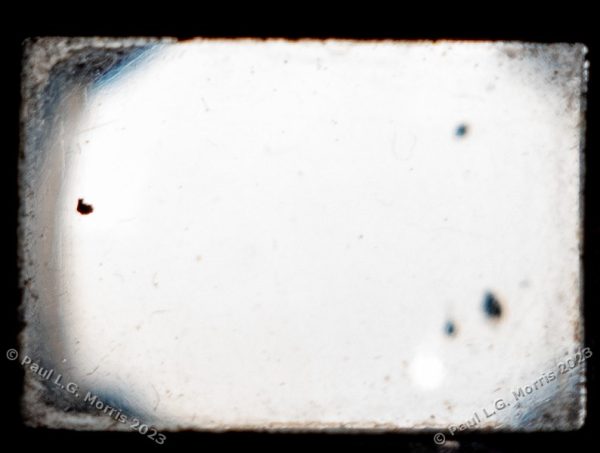
This, I felt, improved the ‘age’ of the photograph but was clearly insufficient – I needed an old decaying frame. For this I photographed the viewfinder on an old ‘Box Brownie’ type of camera which was pointing at a plain white background. After some editing it gave this image:
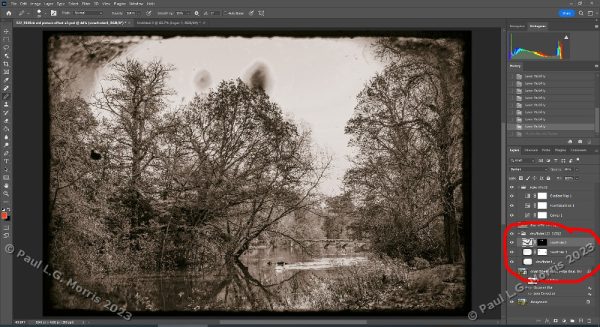
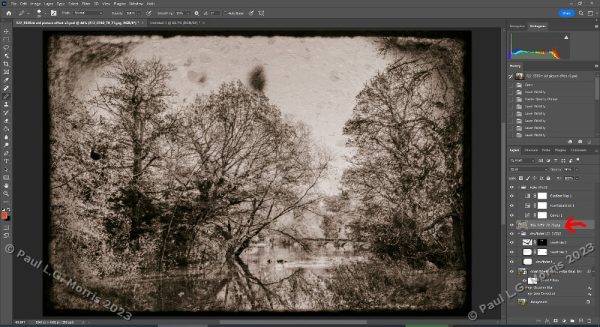
I used this 3 times in Photoshop: as is, inverted with the prominent mark removed, and enlarged and rotated to give a different look. This shows the effect as seen in Photoshop:
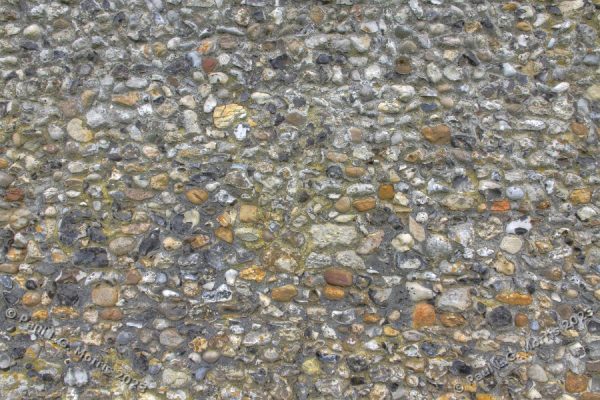
This is beginning to look more like what I had envisioned but still not enough. I thought the sky was a bit bland so I decided to add a bit of texture to roughen it up. I used a photograph of a stone wall – this is placed in the layer stack underneath the Sepia toning group:
Hmmm, this is getting better but not quite there; old images were distorted and less sharp. For this I duplicated the background layer and (after reading how to do it!) created 2 smart filters, one with lens correction (custom setting with 100% pin cushion distortion) and the other with Gaussian Blur (4px).
Voila! I have the effect I wanted. You may hate it but…