This is a continuation of the previous technical post on using a cheap modified compact camera for infra-red photography. Note that this type of photography uses the infra-red part of the spectrum that is near visible light (the near infra-red). This is different to the heat sensitive cameras that use the far infra-red.
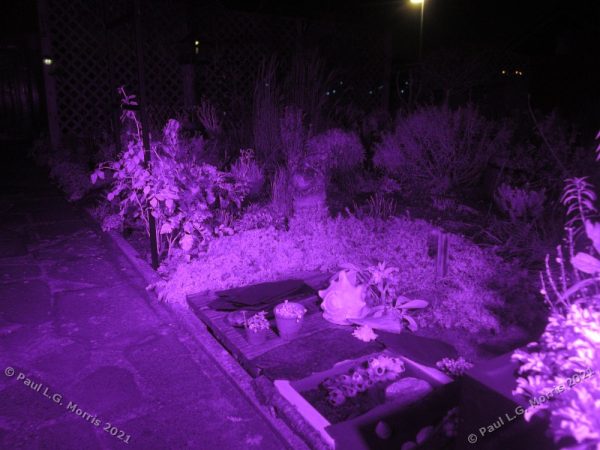
In this set of photographs, I used some ‘infra-red’ lamps to illuminate a garden scene to see how effective they are for this type of photography. These lights, that glow dull red, were previously bought to boost the amount of night-time light available for a wildlife/trail camera – this they did quite successfully. They are housed in a plastic food box for weather protection and are powered by a 12 volt battery.
This type of lighting, as it is virtually invisible (you cannot see with the eyes where they are shining), means that any photograph so taken must be converted to monochrome. This is true for all such cameras that don’t use additional visible light for the illumination – the only exception being true starlight cameras (but I have found that all the so-called starlight cameras that I looked at use infra-red illumination).
In this set of photos I show some trial shots that are giving me an idea of what to expect:
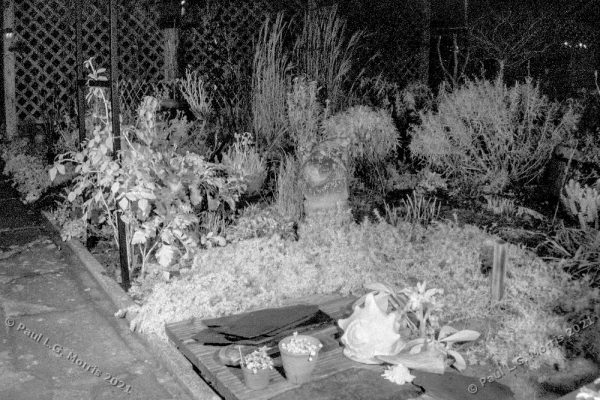
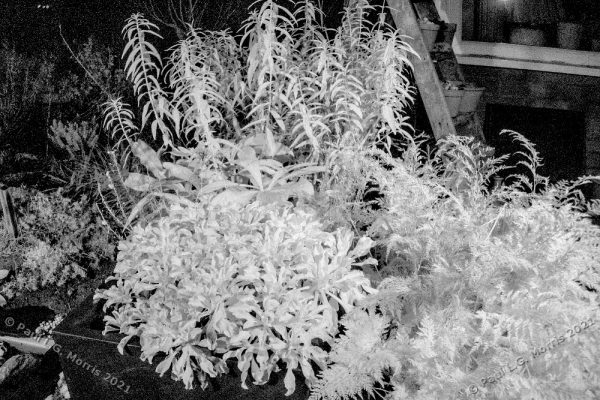
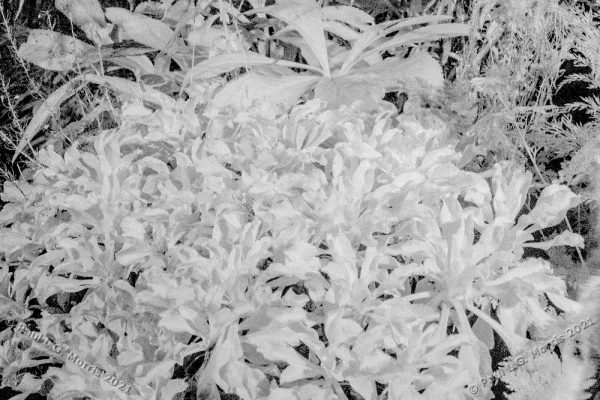
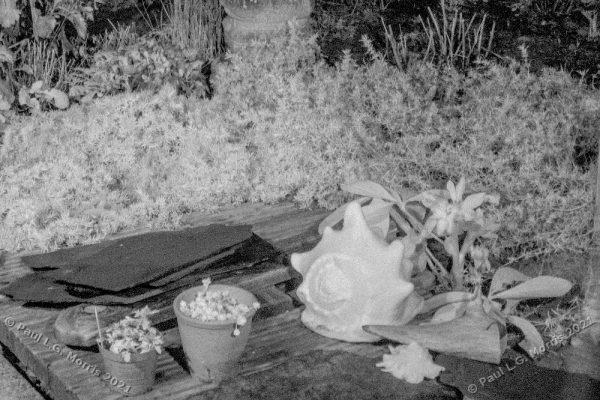
An interesting experiment. I think this approach will work well with nighttime wildlife in the garden.